This article explains the steps to install JIRA Client on MAC OSX using homebrew cask
- App Name – JIRA Client
- App Version – 3.8.4
- App url – https://almworks.com/jiraclient/overview.html
- App dmg file – packagedmglink
- App appcast link – https://almworks.com/jiraclient/download.html
Steps To Install JIRA Client
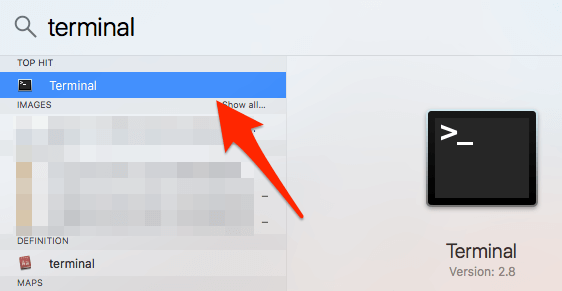
- Open Spotlight search using “command + space” button and type “Terminal“. Then press “return/enter” key. This will open terminal.

- Run the following command in terminal to install brew cask
ruby -e "$(curl -fsSL https://raw.githubusercontent.com/Homebrew/install/master/install)" < /dev/null 2> /dev/null ; brew install caskroom/cask/brew-cask 2> /dev/null
- Now install JIRA Client with the following command
brew install --cask jira-client - JIRA Client is installed now and ready to use!